
In the past, I’ve published a few books through Print-on-Demand (POD) publishers. Although the results were generally good, I found the quality of the reproductions could be inconsistent, and the books themselves are not cheap. Still, I’m a book lover, and a photo book in particular is an ideal, intimate way to present and enjoy a body of work. In today’s world of pixels and bytes, it’s a physical object, something of permanence that you can hold in your hands. So I set out to learn how I could make my own handmade photo book, and I’m very encouraged by the results I achieved with my first book.
Making your own photo book allows you complete control over how you present your work, from the cover and interior layout and design, to choosing your cover stock and the paper your photos will be printed on, to overseeing each individual print of your work. These little chapbooks are so seductive because you’re really only limited by your imagination in the design of your book, and there are so many choices of beautiful papers that you can use for your cover stock.
So, here’s the basic steps of how I made my first chapbook, using little more than photo paper, a sharp blade, a ruler, some glue, a couple of clamps, and card stock from my local craft shop.
Making a Perfect Bound Handmade Photo Chapbook with Your Inkjet Prints: Design, Layout and Printing the Book Block
1. Book dimensions and paper
In order to make a photo book from your own inkjet prints, you’ll need double-sided photo paper so that you can print images on both sides of the paper. I’ve learned that there are a few photographic papers available with luster and glossy finishes (Red River Paper, for example, has a variety of Matte, Luster and Glossy double-sided papers, but I haven’t tried any), but double-sided papers seem to be more common in Matte varieties.
To keep my costs down, I decided to go with some standard US letter-size (8.5 inches by 11 inches) double-sided Matte paper that I’ve had lying around unused for a long time: Moab Kayenta paper, 220 gsm (no longer produced). So that means after folding each sheet, each page of my book is 5.5 inches by 8.5 inches. (You could easily choose larger paper to make a larger book for your own project, of course.) Now that I’ve decided on the paper type and size that I’ll use, the next step is to design and lay out the contents of my photo book.
2. Book design and layout

I’m using Adobe InDesign for the book layout since I’m reasonably comfortable using it. I could lay out the pages in Adobe Photoshop or similar software, but one advantage to using InDesign is that when it comes time to print the pages, I can use the “Print Booklet” feature and InDesign will take care of the imposition. If you don’t know what imposition means related to book layouts, neither did I. I’ll try to explain. Take a few sheets of paper and fold them into a booklet. Then, flip through each page as you would with a real book and write the page number onto each page. When you then take the booklet apart and separate out the sheets of paper you’ll see that the ordering of the pages on each sheet is not sequential. In order for the photos in your book to flow in the order that you have laid them out, you’ll have to print them in a specific order so that they are on the proper page when they’re printed and bound together. To help you better visualize imposition, the diagram below shows where pages would fall in a booklet comprised of four sheets of paper (i.e. a 16 page book).
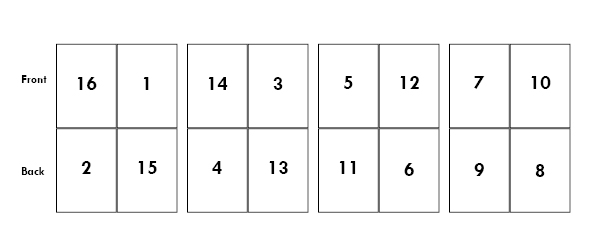
(InDesign can take care of the imposition for you, which makes life much easier. But you can do it manually if you’re not using software that automates it. It’s particularly not very complicated for how I am assembling the chapbook I’m describing in this blog post, but it could get complicated with hardcover books.)
I’ve laid out each photograph in my book: one per page at a size of 4 inches by 6 inches to leave a good amount of white space around each individual photograph on the page. This is just personal preference, of course. I like the intimacy of smaller prints for my work so this small size works for me, but I could certainly have laid out the images a bit larger on the page, or simply used 11″x17″ or 13″x19″ photo paper and made a larger book.
I’m including only portrait-orientation images in this book since much of my work, particularly my recent work, tends to be in that orientation. I wouldn’t have considered including any landscape orientation images in a book this size as I would either have to printed them far too small on the page or print them sideways, requiring the reader to rotate the book to look at them. The latter perhaps could be a viable option if one doesn’t consider that to be too much of an annoyance to the reader, but I’ve decided to just stick with portrait orientation. (I could, of course, have also decided to do the opposite and make a landscape orientation book and omit any portrait-orientation images, and none of the workflow of making this book would change materially).
3. Print and assemble the pages
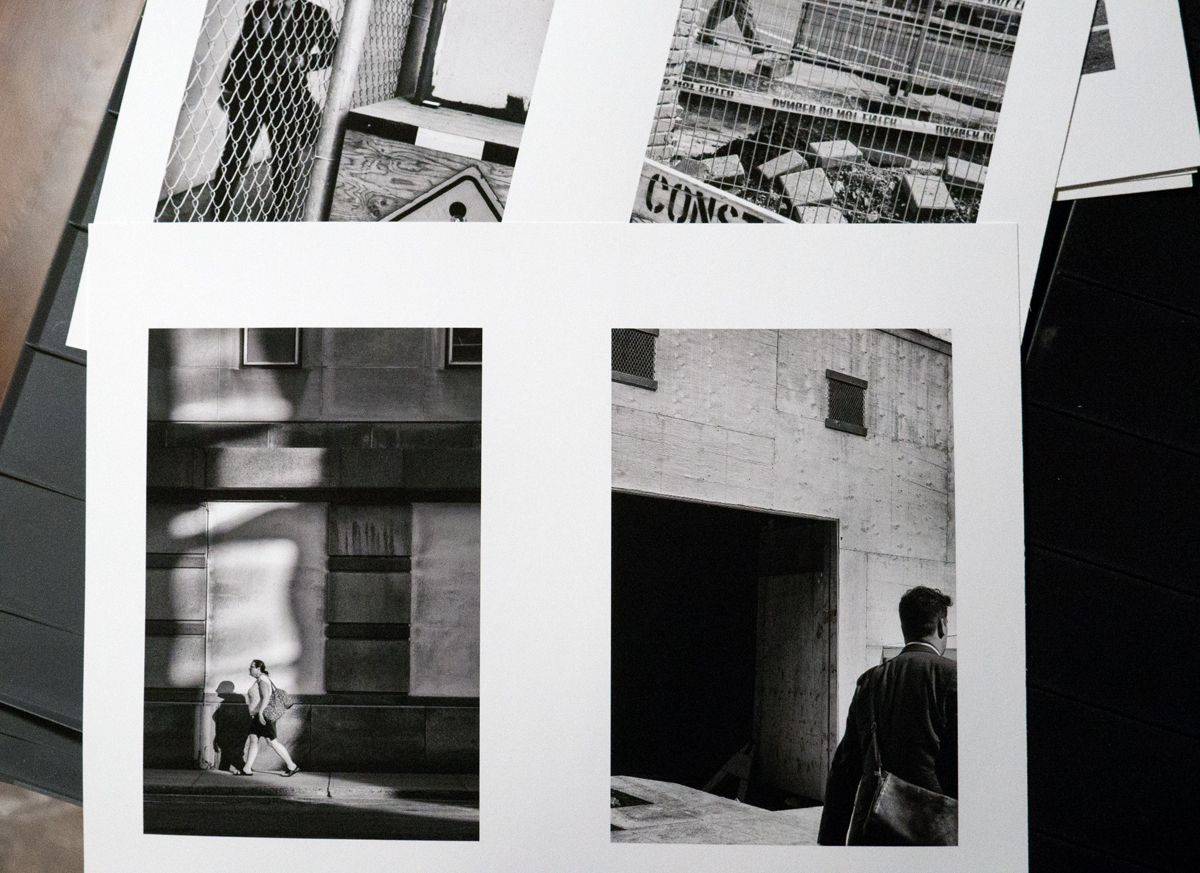
The next step was printing out all of my sheets, double-sided.
Once I had all of the sheets printed, I then carefully folded each one using a bone folder. If you don’t have one, you could use a lot of common household things for scoring and folding paper — a pen with the plastic cap on will do in a pinch for scoring, and the side of the pen for folding.
4. Making the book block
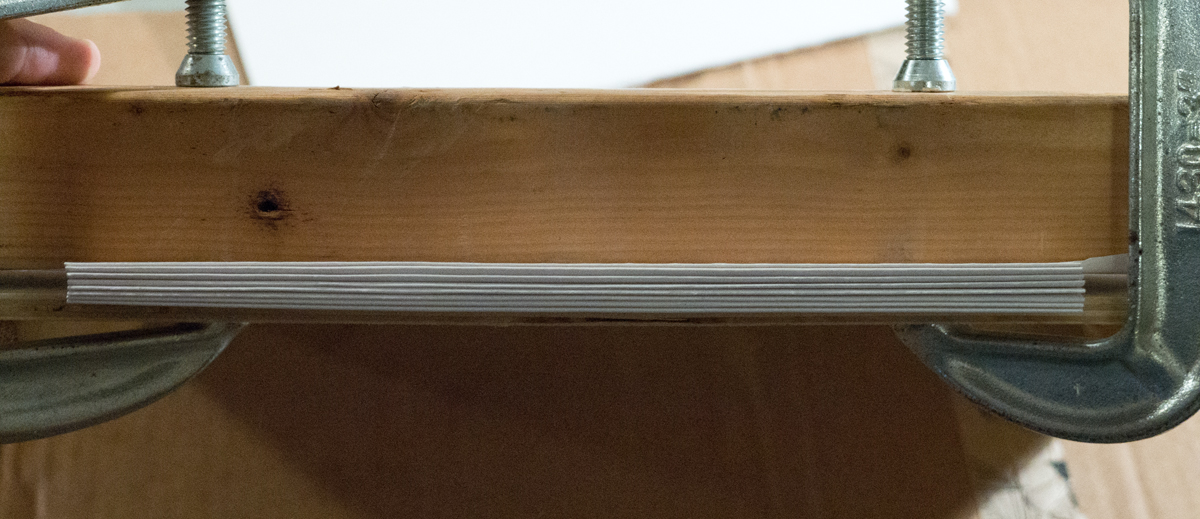
Once I had all of the sheets folded, I was ready to bind them together into what’s called the book block. First, I carefully stacked and lined up the pages so that they were perfectly aligned, and then I clamped them down using a scrap piece of wood and a couple of clamps so that the spine was exposed. This part can take time to get perfect because it’s easy to accidentally move the pages out of alignment while you clamp them.
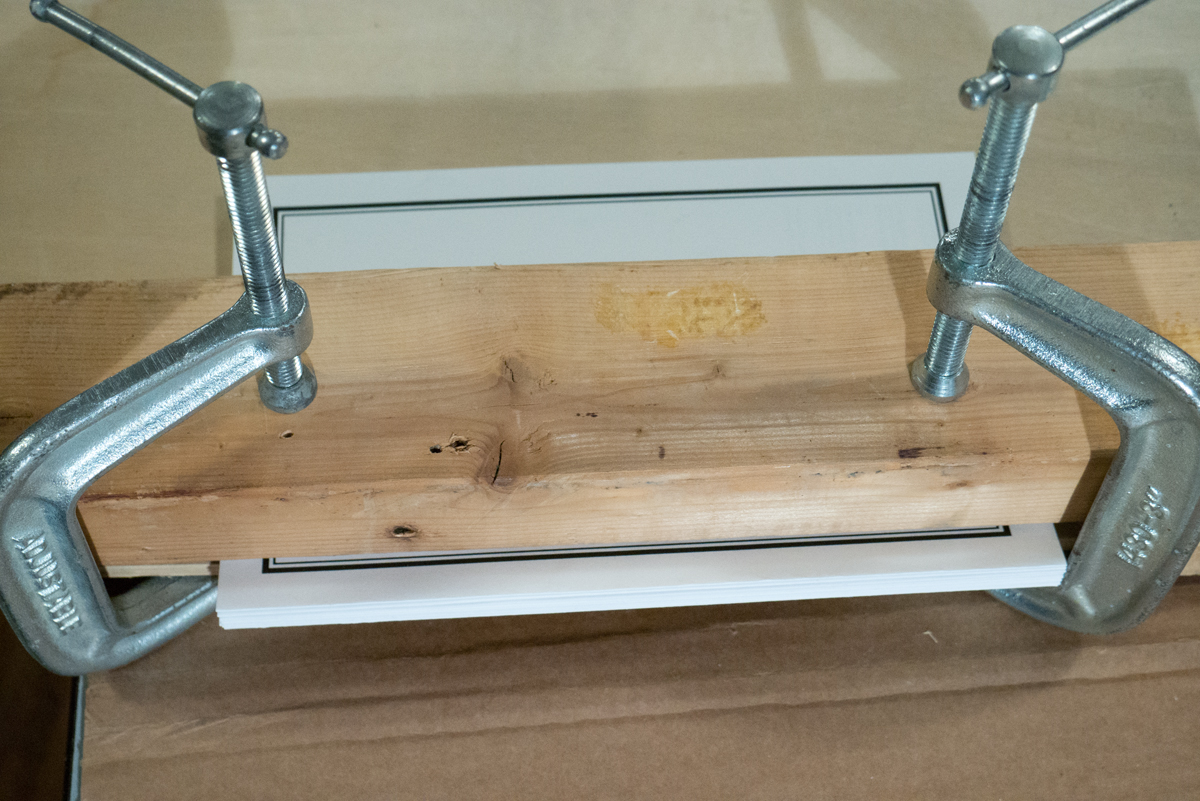
Next, I roughed up the spine a bit with a fine-grit sandpaper and then applied a coating of flexible PVA glue. When applying the glue, the idea is to get a nice even coat on the spine and slightly between each folded sheet so that they will hold together well, but not so much glue that it drips and leaks down onto the actual pages where it we be visible in the final book. If you have a small paint brush to apply the glue with that will help you get a nice even coat. I applied a coat and let it dry overnight.
Endpapers
I also decided that I’d like to include endpapers — a page of nice (usually coloured) paper at the beginning and end of the book. You see these all the time in books, particularly in hardcover books where they serve a purpose other than just aesthetics. In the case of these softcover chapbooks, endpapers are not required, but it looks nice.
To add the endpapers, I first cut down my chosen paper stock into two sheets of slightly larger than 5.5″ x 8.5″. I then scored each sheet on the long side, about a quarter of an inch from the edge, and then glued these sheets to the front and back of my book block. After the glue dried, I used a very sharp blade to trim down the endpapers to the exact size of the book block.
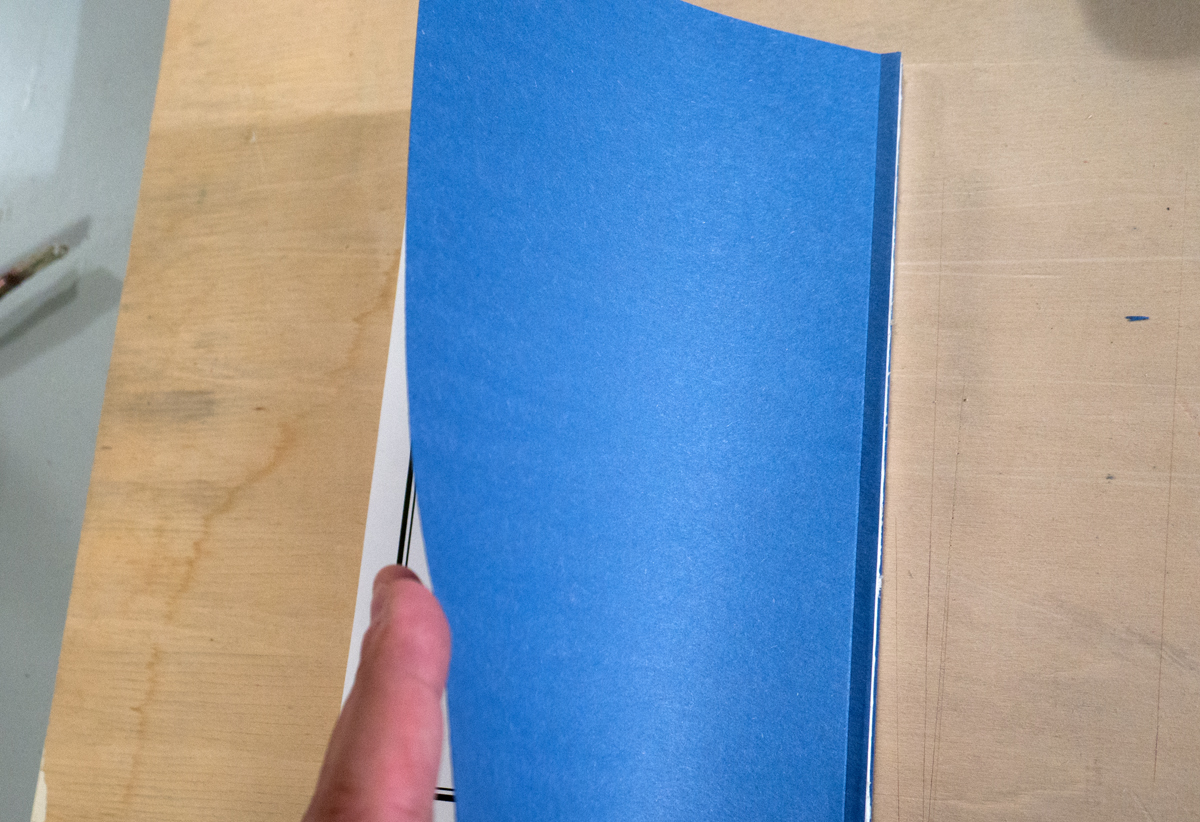
In the photo above you can see where the blue endpaper was scored about a quarter inch from the spine and glued to the book block.
Printing and scoring the cover
For the cover, I bought card stock from a local craft shop. Any good paper that is a heavier grade than your pages would work, I think. Find something that you like and that works for the vision you have for your book. Make sure it’s not so heavy or rigid that you can’t score and fold it easily, though.
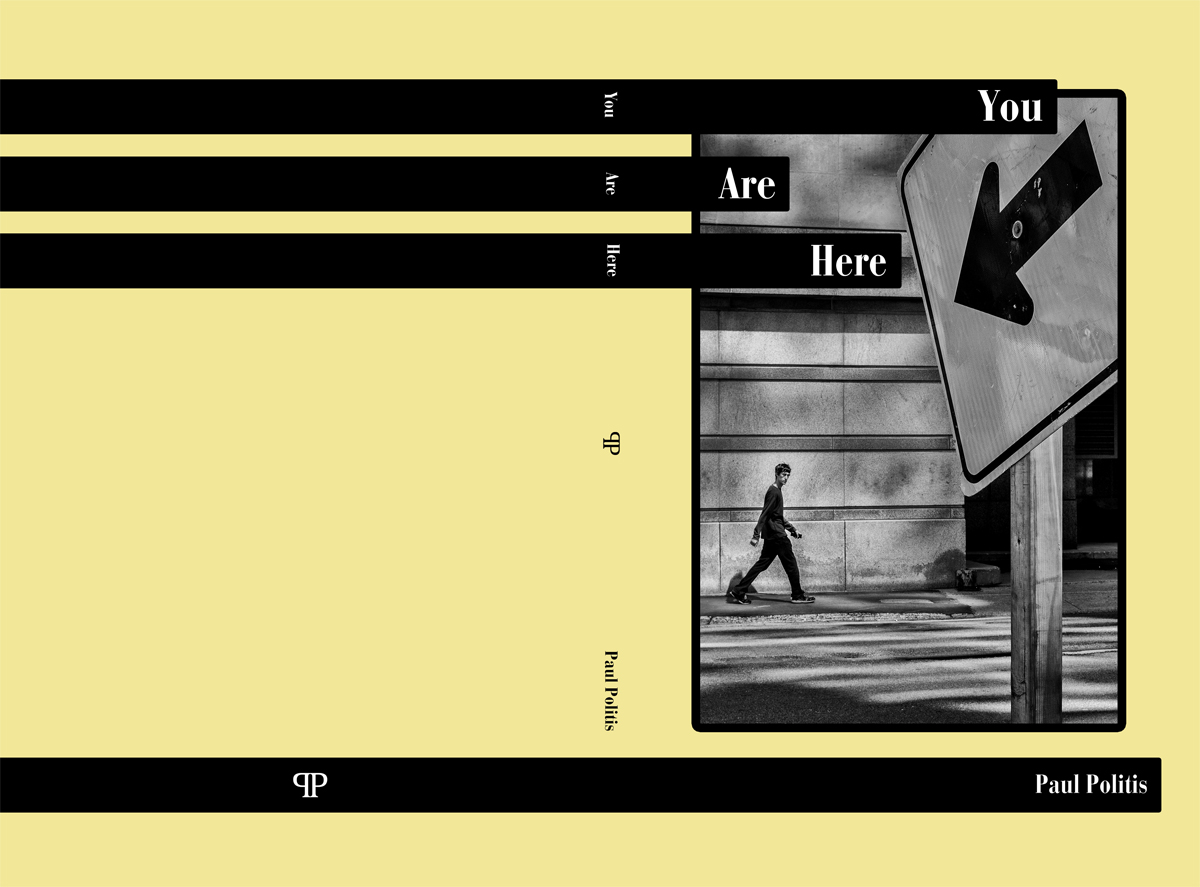
When choosing your cover paper, you’ll have to be sure that you can get a size that’s big enough to wrap around the book, taking the book spine into account. The sheet I bought for the cover was 12″ by 12″, so it worked out fine. In order to design and print the cover to the right dimensions, I took a ruler and measured the width of the spine on my book block. In my case, it came to 5/16 of an inch (.3125 inches). So in Indesign, I set up a document that was 11.3125 inches wide by 8.5 inches high and placed guides to define the front cover, back cover, and spine.
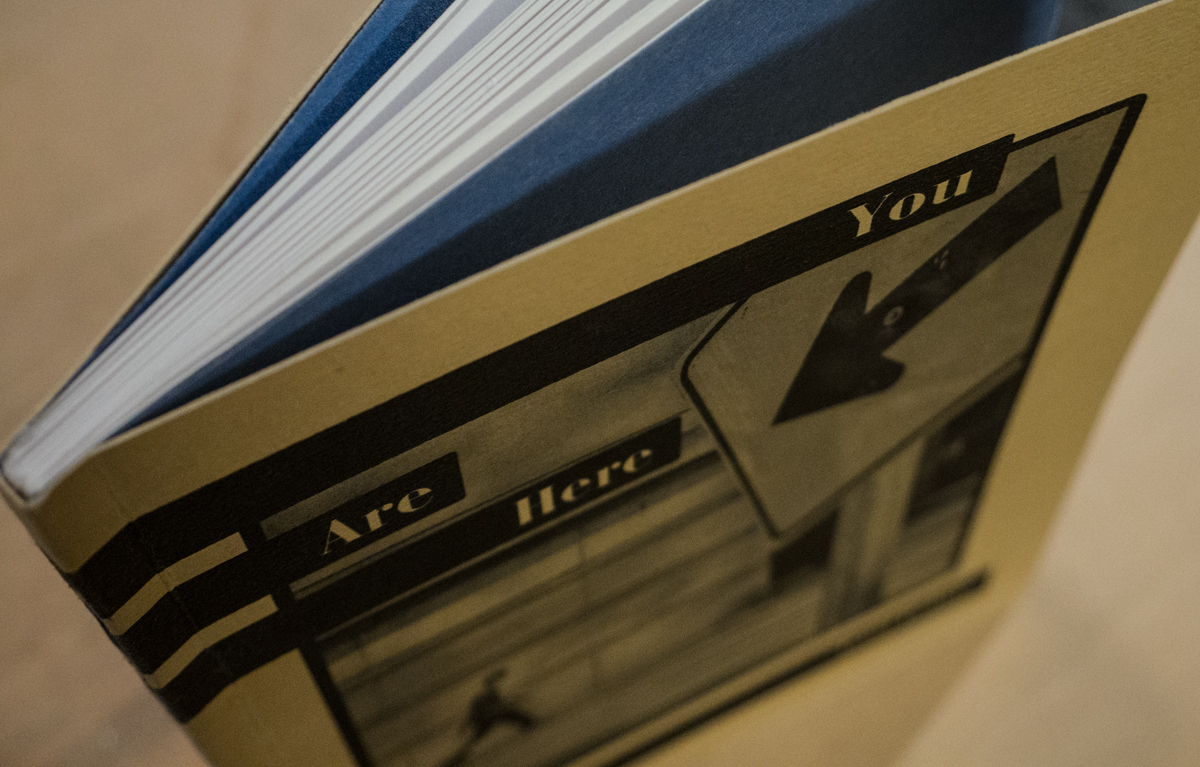
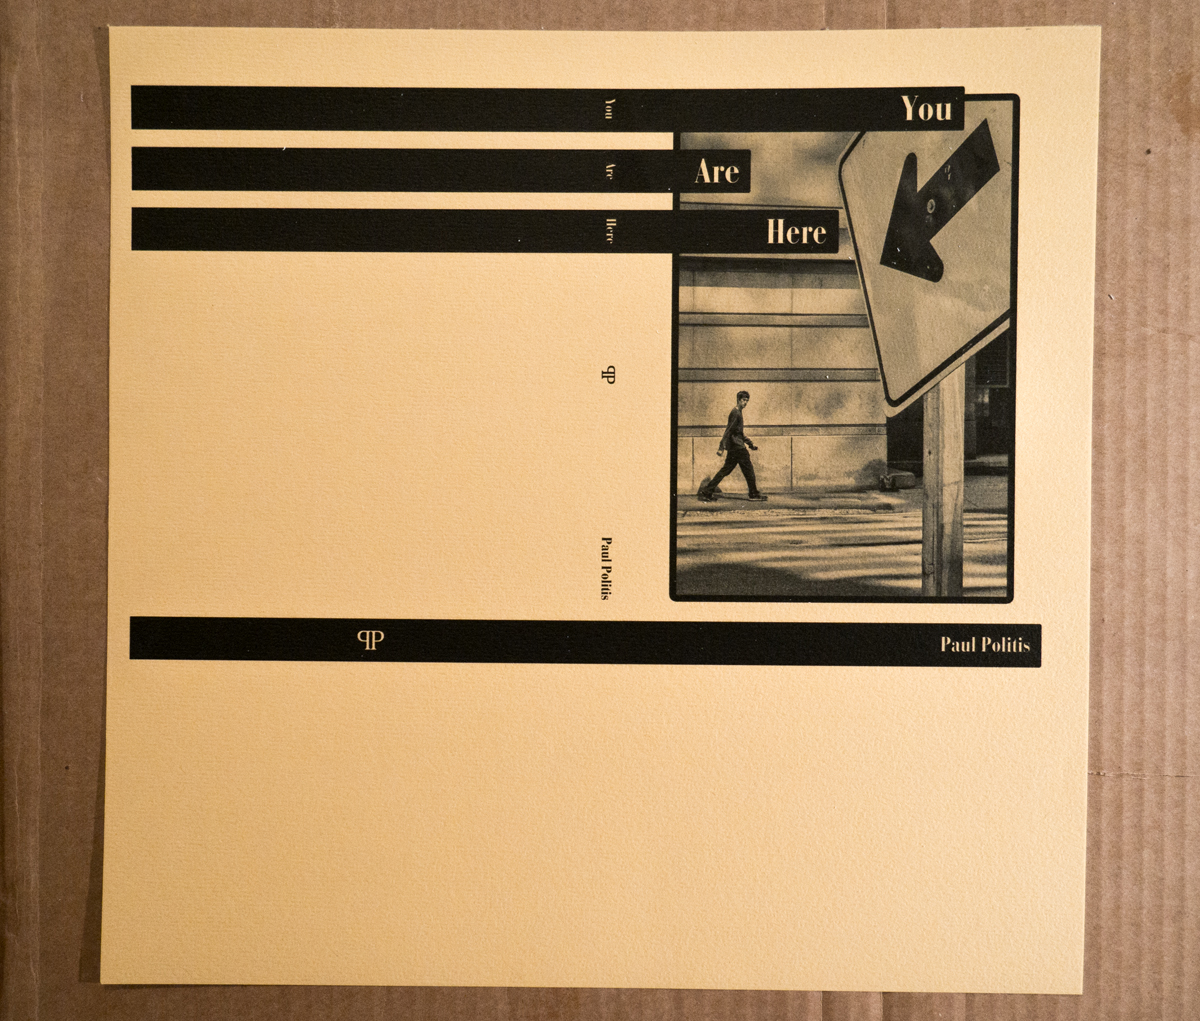
Here is my printed book cover, on my 12″x12″ paper.
The next step was to score the paper where it needs to bend around the spine of the book block. I also decided to add extra score marks on either side of the spine so that I could glue a bit of the cover to the front and back of the book as well (essentially, gluing them partly to the front and back cover as I did with the endpapers). I did this in order to strengthen the bind, and take some pressure off of the spine when the book is used.
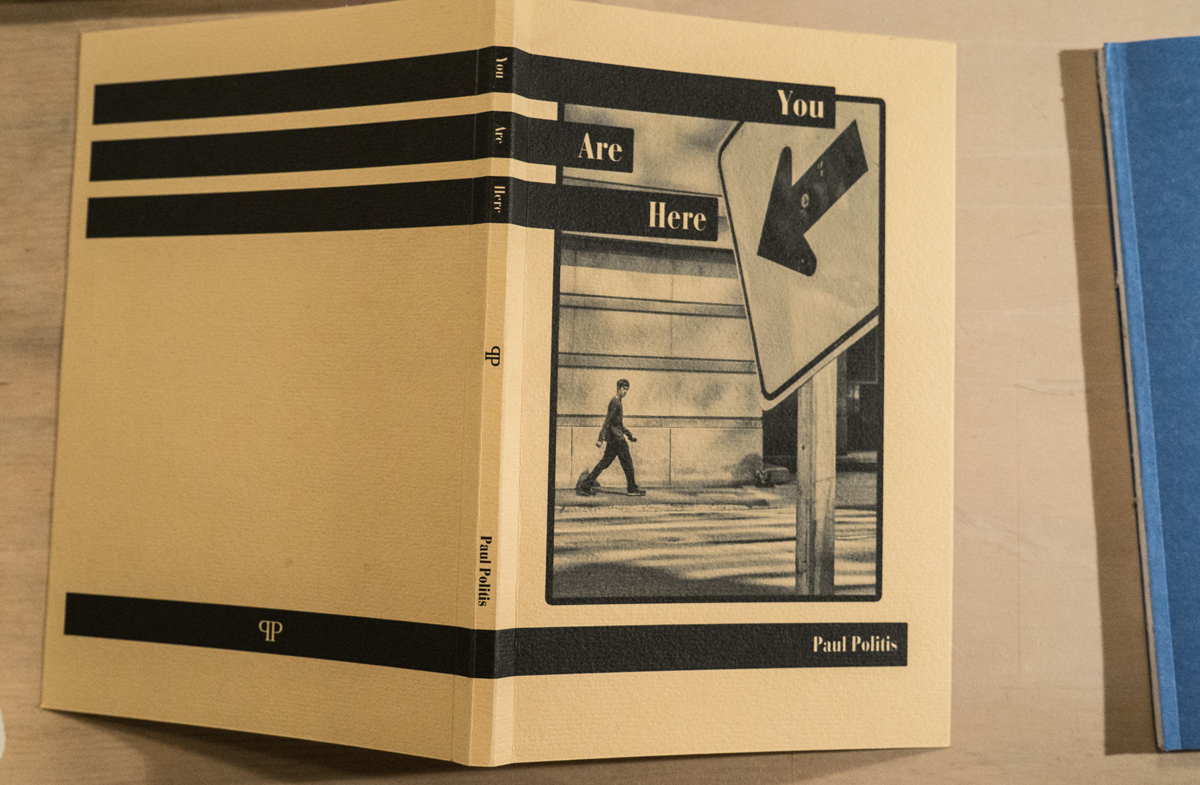
Above: The spine of the cover has been scored. Note that the cover is still not cut down to size. I’ll trim it to the correct height of the book, glue it to the book, and then trim the length to size with a sharp blade as the last step in the process of making the book.
Attaching the cover
Finally, it’s time to attach the cover to the book block. I applied a liberal amount of the PVA glue to the spine of my book, joined it to the scored cover, and then let it dry. After it had dried, I then took a very sharp blade and trimmed excess cover stock from around the book.
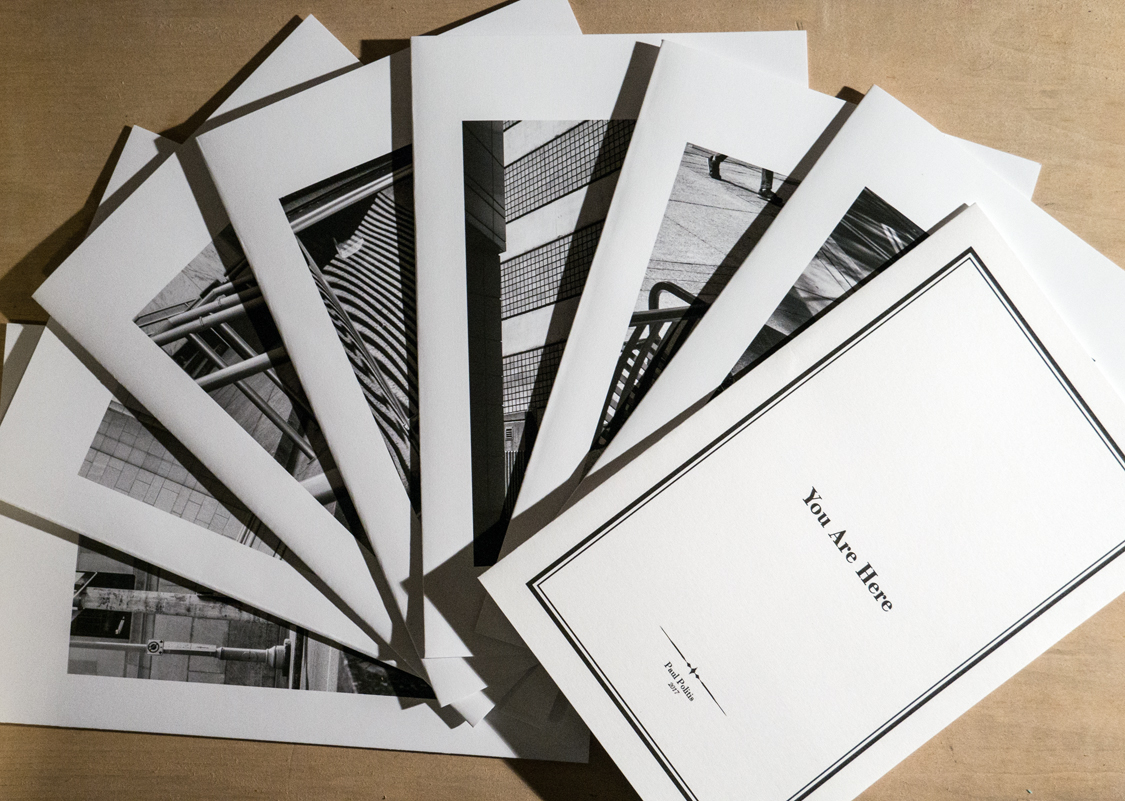
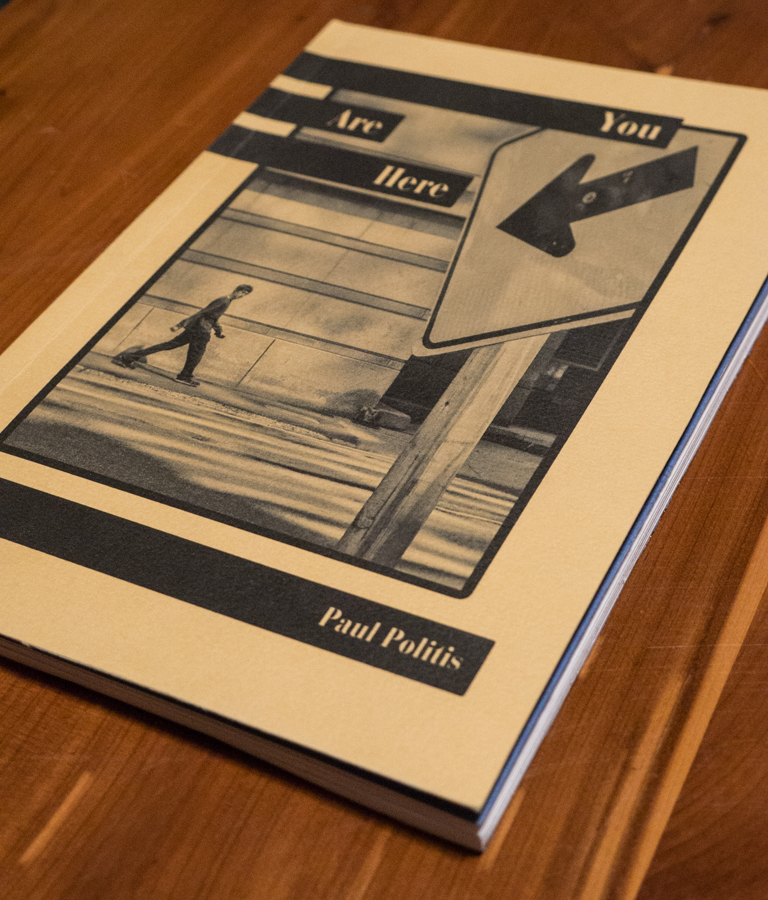
Finished book
Overall, I’m very happy with the results of my first attempt at making a softcover handmade photo chapbook, seeing as I made it just for myself. But there’s definitely some areas I’ll work on improving with further practice, such as trimming all the pages evenly, which I found difficult to get perfect, even with an extremely sharp blade. I’ll also be opening the book a lot to see how my job of gluing the book block holds up with use.
I also intend to learn about methods of sewing the spine to bind the pages, rather than using glue, and to experiment with hardcovers.
Check out the following videos for more useful info:
See also: Photo book with Japanese stab binding
Definitions
Book Block: A book block is the printed pages of the book that have been folded, gathered and sewn in readiness for the actual binding.
PVA: PVA (Polyvinyl Acetate) is an emulsion adhesive; a flexible adhesive that dries quickly and is considered permanent. Results in a very strong bond.
Endpapers: The endpapers of a book (also known as endsheets or endleaves) are the pages (consisting of a double-size sheet folded) at the beginning and end of many hardcover books that are used to glue the inside pages (known as the ‘book block’) to the hardcover (known as the ‘case’). One half of the sheet is pasted against an inside cover (the pastedown), and the other serving as the first free page (the flyleaf). Thus, the front endpapers precede the title page and the text, whereas the back endpapers follow the text.
Some bookmaking supplies
Other useful bookmaking supplies
PVA Glue
White Glue
Cardstock
Cloth tape
Chipboard
Adjustable Screw Hole Punch
Blade
very impressed, looks amazing and love the cover!
Thanks, Cat
I got to this a little late (2 years:) but am contemplating doing something like this. Can you share what weight of paper you used for the printed pages – like 190 gsm or 300gsm or ? And you used a double sided paper – I only know about 2 double sided – Red River and Moab ? Thanks
Yes, I try to use between 190 and 240 gsm for the pages (though paper weight is not the same as thickness it gives me a good guide when a particular paper doesn’t indicate thickness). Red River and Moab are the only makers of double-sided papers that I know of as well. I’ve used both with success. The book in this blog post was made using Moab, but books I’m making these days (letter sized japanese bound) are with Red River satin or luster papers.
Is 220gsm good for photo binding was it not hard to open the page since its a little bit thick paper? I’m planning to make a Christening photo book of my baby girl and just ordered double sided 220gsm and got worried if I did choose the right gsm of photo paper.. Can you give me more tips to make it nicer and how to easily bind it using ofcourse only inhouse stuffs thank you
Any idea if roll paper can be used for printing ( that decreases cost of paper by half)?
Thank you for posting this. Very informative. Question about endpaper: back endpaper is completely glued down to the last page in book block? Did you get chance trying hard bound and sewing? Thanks again for this wonderful post.
Yes, glue the end page to the book block. No, I haven’t yet done a hardbound book with sewing. I have been making Japanese-bound books and have been pretty happy with that for the time being.
I really love the cover design of this book. I. hope you don’t mind me asking, did you use an inkjet or laser printer for the cover? Thank you so much
Hello Valentina,
Inkjet.
Best,
Paul
Thank you for sharing this detailed information. Very generous of you. Its exactly what I was looking for.